How to Remove Stuck Rice from Your Phone’s Charging Port 2023
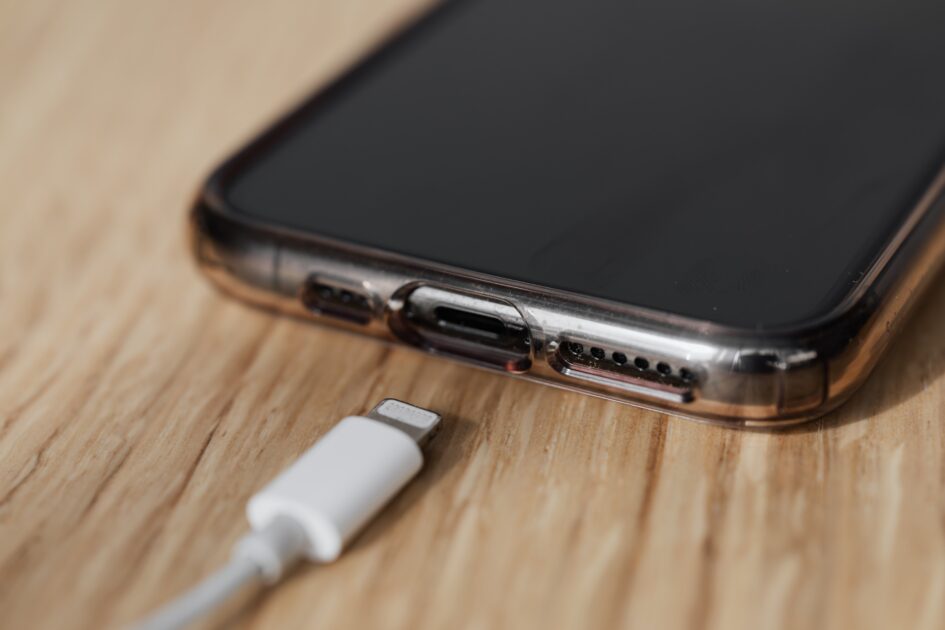
At some point, many of us have encountered the dreaded situation of dropping our phones in water. One popular piece of advice often surfaces is placing the wet phone in a bag of rice. The theory is that the rice will absorb moisture and protect your phone from water damage. While this technique can be effective, it comes with its own set of challenges and potential complications. This comprehensive guide will outline the most efficient and safe methods to remove stuck rice from your phone’s charging port, ensuring optimal functionality. Let’s dive right in!
Step 1: Preparations
Before attempting to remove the stuck rice, gathering specific tools is essential to aid the process. These tools include:
Precision Tool
You will need a small precision tool or pick to carefully scrape the rice grains lodged in your charging port. You can acquire one of these tools from a charging port cleaning kit. If such a tool is unavailable, use a straightened-out paper clip or the opposite end of a dental floss pick.
Flashlight

Given the limited visibility within the charging port, a flashlight must illuminate the area and facilitate rice removal. Alternatively, any bright light source that can adequately illuminate the inside of the charging port can be used.
Compressed Air or Aerosol Spray

While not always mandatory, compressed air or an aerosol spray can prove beneficial for dislodging small rice particles or clearing any accumulated dust within the charging port. These tools can enhance the effectiveness of the rice removal procedure.
It’s essential to be aware of what not to do while attempting to remove rice from your charging port:
- Do not substitute the precision tool with wooden toothpicks or Q-tips, as these can leave residue or fibres inside the charging port, potentially causing further damage.
- Avoid using hard-bristle brushes, as they can harm the delicate pins in your charging port.
- Refrain from blowing air into the charging port with your breath, as the humidity can adversely affect the electrical components of the port.
- Do not attempt to break the rice grain yourself, as this can damage your charging port unnecessarily.
Step 2: Shutdown Your Device
Before proceeding with the rice removal process, it is crucial to shut down your device. This precautionary measure ensures the safety of your phone during the procedure. If your phone has experienced water damage and cannot be powered off, it is advisable to seek professional assistance at a reputable repair centre.
Step 3: Getting the Rice Out
Now that you are well-prepared and your device is powered off, it’s time to tackle the stuck rice in your charging port. Follow these steps to successfully remove the rice grain:
- Illuminate the Charging Port: Ensure the inside of your charging port is well-lit using a flashlight or any other suitable light source.
- Incline Your Phone: Hold your phone in an inclined position, facing downwards, with the charging port easily accessible.
- Use the Precision Tool: Gently coax the stuck rice grain with the precision tool or substitute in hand. Typically, the rice grain is lodged horizontally, so carefully scrape it from the edge of the charging port to make it sit vertically. This vertical alignment will facilitate the extraction process.
- Scrape Out the Rice: Gently scrape the rice grain from the charging port using the precision tool. Be cautious not to touch or damage the pins within the port.
- Handle Breakage: If the rice grain breaks during removal, it becomes easier to extract the pieces individually. However, avoid intentionally breaking the rice grain, which may damage your charging port.
- Remove Residue and Dust: After successfully removing a significant portion of the rice grain, use short bursts of compressed air from different angles to clear any remaining residue and dust from your charging port.
- Clean Lint or Cloth Fibers: If you notice lint or cloth fibres stuck in your charging port, utilize the precision tool to carefully remove them and thoroughly clean the port.
- Test Charging Port Functionality: Once the rice has been removed, connect your charger to the device and ensure the charging port functions correctly.
Alternative Methods to Remove Rice from the Charging Port
If the steps mentioned earlier do not entirely resolve the issue, or if you prefer alternative approaches, here are a few additional methods to consider:
Fix 1: Use a Tiny Pin

Employ a tiny pin, paper pin, saree pin, or a similar object to gently pull the rice out of the charging port. Exercise caution and patience while attempting this method.
Fix 2: Use a Vacuum Cleaner

Carefully suck out the rice particle from the charging port if a vacuum cleaner is readily available. Handle the process delicately and avoid damaging the port or other components.
Fix 3: Use a Cleaning Duster Can
Consider purchasing a cleaning duster can which can blow the rice out of the charging port using compressed air. These cans typically come equipped with a straw or nozzle, allowing you to target the specific area where the rice is lodged. Moreover, cleaning duster cans contain low moisture content, minimizing the risk of damage to your phone.
Fix 4: Seek Assistance from AppleCare
Suppose you have exhausted all potential solutions and must remove the rice from your charging port. In that case, you should contact AppleCare or your device’s appropriate customer support service. They possess the expertise and resources to handle such situations and can provide professional assistance.
Fix 5: Utilize a Magnifying Glass
Acquire a magnifying glass, sewing needle, or a similar object and find a well-lit area. With the aid of the magnifying glass, carefully attempt to extract the rice from the charging port. You can break the rice grain in the middle to facilitate the removal process if necessary.
Fix 6: Compressed Air
Another simple method involves using compressed air to dislodge the rice from the charging port. However, exercise caution to prevent water from entering the phone via the port. If you have any doubts or concerns, it is best to discontinue the process immediately. Remember to test your phone’s functionality after removing the rice, and if any issues persist, seek professional assistance.
If you cannot remove the stuck rice grain or your charging port continues to malfunction even after the rice removal process, visiting a reputable repair centre is highly recommended. The professionals there have the expertise to address complex issues and provide effective solutions.
Remember, if you encounter similar situations in the future, promptly remove any excess moisture from your phone and follow the steps outlined in this guide to prevent further damage and ensure optimal functionality.
SEE ALSO:

